Intro
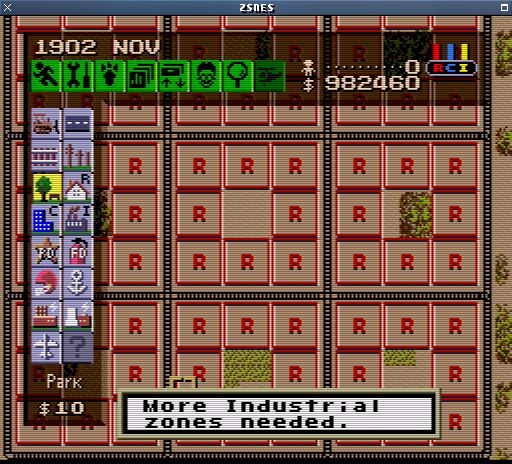
The information on this page applies to the SNES version of Sim City ("Classic," not 2000). I realize this page is a bit late, considering the game came out over a decade ago, but I've been playing it on and off since that point, and have found it odd that all of the info on the net about the game is pretty rudimentary and basic, barely going beyond what's in the manual.
The purpose of this page is to cover some of the various strategies that can be used to build cities with huge populations. The largest city I have personally built was a little over 650,000. However, I should mention that I haven't built a large number of large cities, because I did the majority of my playing when I was a kid. In recent years, I've come back to the game a few times, learning new things each time that I didn't know back in the day, and building bigger cities each time.
Some Basics
Destroy Schools and Hospitals
They don't add to the population, so nuke them.
One Firestation
Fire coverage is a waste of time and space. Build one fire station to shut the people up, but don't build any more. At some point you might want to build six, twelve, or eighteen fire stations, to get your HQs. Once you build at least one of the HQs, destroy your regular fire station.
So if your fire coverage sucks, how do you fight a fire? Easy. When a fire breaks out, turn the time to stopped, get to the scene of the fire, bulldoze anything around it that you can easily rebuild, build a few firestations around it, turn the time back on, and wait for it to go out. Then destroy your temporary fire stations and rebuild.
Optimal Transportation
Most importantly, don't use roads. Pollution and traffic suck.
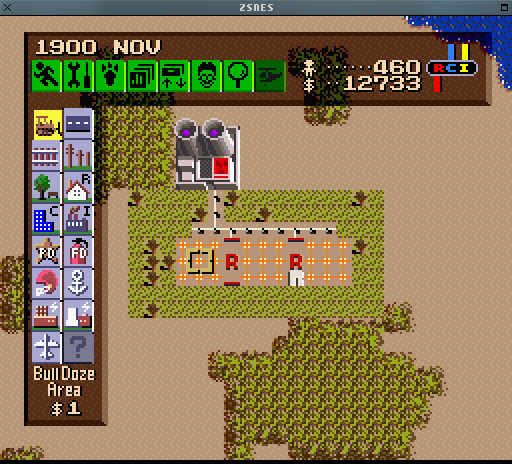
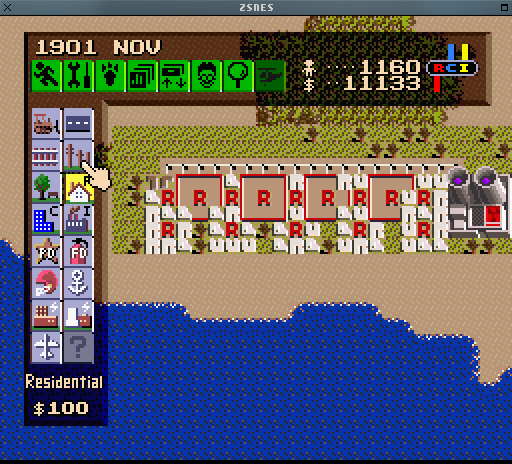
Secondly, if you getting the highest population is the goal, then you must use as few rails as possible (I'll get into that more, in a bit). Each zone only needs one square of rail touching it, and any unneeded squares should be replaced with parks -- or, even better -- used to stack in some extra zones.
And to truly milk your land, always try to use water for transportation. Remember: you can build rails on water, but not buildings. So whenever you're near the coastline, try to pack in as many zones as possible, and stick your transportation in the water.
The Best Maps
Each map is 120x100.
Generally you want less water, since obviously you can't build anything on water. But water isn't completely worthless: it significantly raises the land value of the land surrounding it. Since industrial zones don't really care about land value, try and cover most or all of your waterfront with residentials and commercials.
There is also the freedom map -- the one with the big mario face forest in the center, and no water -- but you don't get any presents on that map, which makes it much less useful than it seems at first.
The following is a list of the best maps I know of, ordered by their amount of water (less water is better):
| map # | water |
| 61 | 1740 |
| 728 | 1830 |
| 849 | 1941 |
| 31 | 2071 |
| 714 | 2134 |
| 921 | 2153 |
| default | 2197 |
The Money Trick
You can easily find this on google but I'll try to sum it up as concisely as possible:
- set fire/police/transportation funding levels to 0%
- build something that has an annual tax cost -- fire/police dept., road, or rail. one is enough.
- spend all of your money
- make sure you have auto-$ off, and wait until the tax screen pops up
- press and hold L -- don't let go!
- exit the tax screen, and then immediately re-access it via the menu
- raise all funding levels to 100%, exit tax screen
- let go of L
You will now have $999,999.
I'm sure some people think this is just lame cheating, but personally I think it's more fun. Trying to actually build a city the expected way is really slow, and a pain in the ass. Fighting the in-game economics and taxes is boring to me; getting the highest population is a more exciting challenge to focus on. And that is what Sim City is all about, right? Making your own goals?
Easy Pausing
The L and R buttons pause the game. This is how the money trick works, and it is also extremely useful when stacking zones -- you can prevent little houses from growing back while you're trying to bulldoze and build things.
The Startup Bug
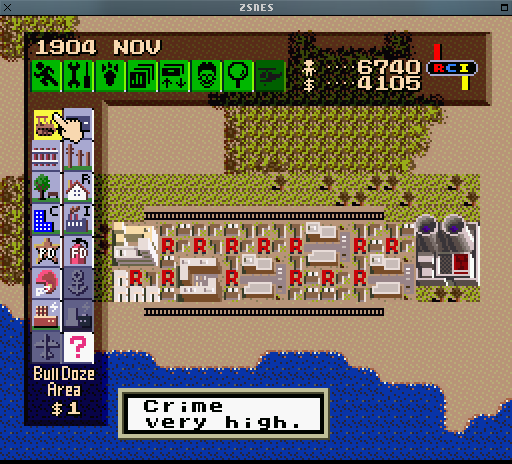
Here is another page with a couple useful bits -- most notably a fix for the "startup bug." This refers to how for the first few moments after loading a city, the power is out, crime is extremely high, etc. The fix is to immediately set the speed to paused, wait a minute (maybe even just 10, 20, 30 seconds or so -- I didn't test it extensively), and then resume.
I disagree with a thing or two on that page (big cities should have more industrials than commercials, not vice versa -- and donuts suck), but the gifts list is also quite useful. I was going to put one on this page sometime, but never got around to it.
Debunkin' Donuts
The donut block is widely considered to be the best arrangement for zones, but in my opinion it definitely is not. The two zone-wide strips have always seemed more dense to me, and to find out the truth, I've done a test. But before I get to that, I should explain the various conditions that a block arrangement needs to meet:
- Each zone needs transportation; this means directly touching at least one square of road or railroad.
- A block needs to be some sort of shape that is repeatable, usually a square or rectangle. The idea is to take the best block arrangement and repeat it over the whole map, to use space in the most efficient manner possible.
- A block should try to minimize the amount of land used by road or railroad, thereby raising the density of the zones contained in the block, and lowing transportation upkeep costs.
Now, what do these two arrangements look like? The donut is a 9x9 square of zones, with the middle zone cut out and usually used for a police department, fire department, or gift. The donut layout is said to maximize the land value-raising effects of gifts, and provide a straightforward place to put police and fire departments, since their effectiveness is the same regardless of the transportation available to them.
The two zone-wide strip is simply that: a strip of zones, two wide, and of any length. Longer strips are preferable, as they minimize the space taken by roads and rails.
The Test
So as mentioned, I decided to conduct a somewhat scientific test between the efficiency of these two layouts. I decided to give the donut blocks the advantage by fitting the test area to them, and then filling the same area with strips. The area was 31x31 squares, which means 3x3 donut blocks, or 9 strips.
Donut Results
| Statistics | |
| Number of zones | 72 |
| Amount of rails/roads | 23.2km |
Strip Results
| Statistics | |
| Number of zones | 90 |
| Amount of rails/roads | 12.0km |
It now becomes quite clear that the donut layout wastes a considerable amount of space on roads. In fact, if we examine the layout, we can find that each corner block is completely covered in roads on two sides. That's six times more than we need on those zones! The roads on the corners also go to waste, as they aren't even touching any zones. These are low in number enough to not be a big concern, but they're still wasteful. The third problem regarding their use of roads is the fact that each block needs to be surrounded by roads. Ideally, roads belong on the inside edge of any pattern, not the outside. Putting them on the outside is the entire reason we have so much of them, but the donut layout doesn't leave us with much other choice. This also causes problems when you reach the end of the map and are one block short; the center zone on that edge will either have to be left out, or you'll have to somehow attempt some zone stacking to get a piece of road in there.
The two-wide strip solves all of these problems. Each zone is touching exactly three squares of road on one side. Corners and intersections are reduced to almost nothing. You can build your entire city of strips, with no connecting streets on the ends of the strips. Even if you do want to have connecting streets on the ends (to keep the game more realistic, if you care), they would be insignificant in number. The strip layout also allows roads to be on the "inside" of the pattern; instead of imagining this pattern as two zone-wide strips, imagine it as two single strips, with a road down the middle. When repeated, it tends to have the appearance of two zone-wide strips, and in the middle of a big city, the difference is irrelevant. But on the edges it's important. Having a road up against the edge of the map is a waste; the goal for any piece of road should be to provide to as many zones as possible. When you put a road up against the edge of the map, it becomes incapable of providing transportation to that edge. The difference between the two is probably not huge, but it's one of the many little things that you can do to tip yourself over the 500k population mark. Every little thing counts.
But the strips don't have places for gifts, police, and fire stations!
Ah, but they do. Place them wherever you want! That is a benefit of this layout. With donuts, you're pretty much stuck putting these things in the middle of the donuts. If for whatever reason, you don't want to put them there, then you begin to take away land from your zones, and since you can't put the zones in the middle of the donuts, you end up wasting land. It's important to have complete police coverage in a large city, while at the same time having just as few police stations as you need to get the job done. The strip layout leaves the arrangement completely up to you, encouraging fine-tuning of the police station layout, minimizing any negative effect on your population density. Gifts are also just as effective in this layout. When you place a gift in one of the strips, it raises the land values for the same pattern of zones around it as it would in a donut - the road on one side does not have a significant negative impact.
Even assuming you wanted the same number of police, fire, and gifts within a given area, the strips still are the obvious choice. Given the layout in the test, we have nine such open spots in our donut layout. If we we destroyed that many zones in our strip layout, we would be at 81 zones - still 9 more than the donut layout, and still with half of the roads. We can even do a pseudo-donut layout within the strips if we want. This image does a good job of visually comparing the two layouts, and showing you the row of 9 "free" zones at the bottom:
Bare Minimum Transportation
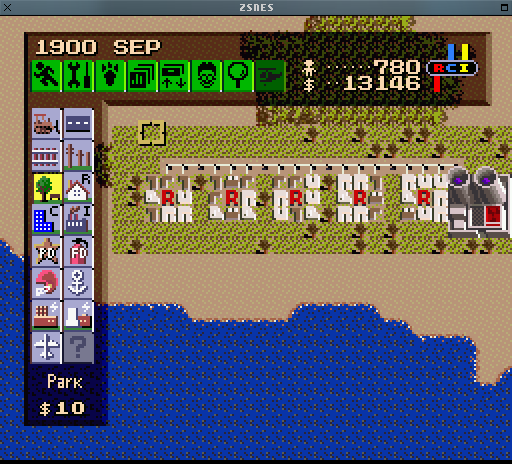
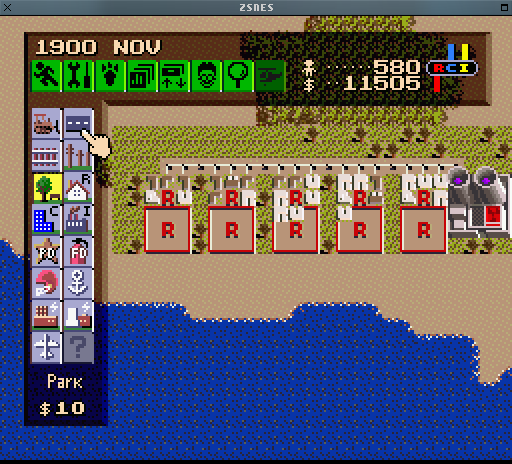
There is something that you can do no matter how your city is laid out, to cut costs, pollution, and raise land values: destroying roads and rails. Remember how each zone only needs to touch one square of road or rail? Well, the game also doesn't care whether any given piece of road touches any other piece of road (hooray for late eighties technology). We can get away with something like this:
I put parks in the blank spaces, but you can put that space to use by stacking other things in:
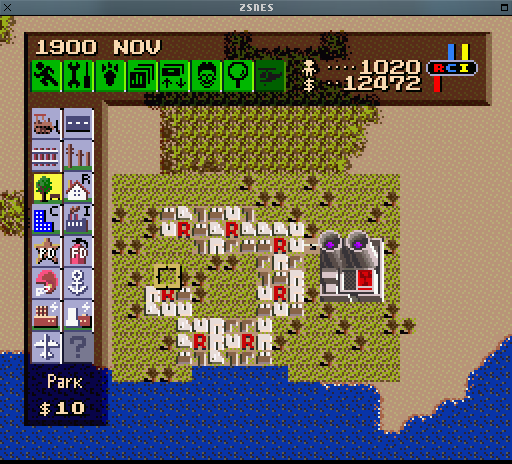
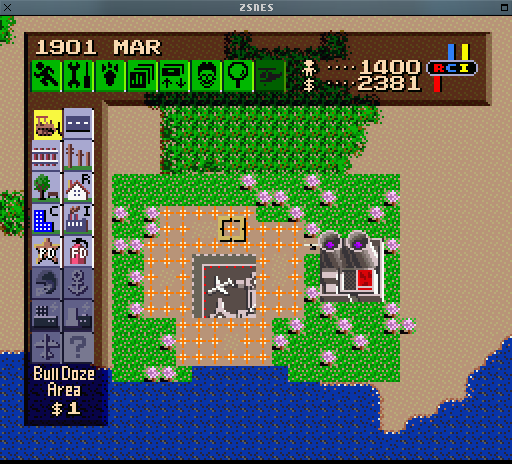
Stacking
Stacking is a bit of a hack which exploits the fact that residential zones allow you to bulldoze individual houses, before the zone turns into a large building. You can then put other buildings in the gap.
You probably already knew that, but you might not know all of the possibile things you can do by stacking zones. Temporary residential zones can be used as sacrificial lambs to shave down other buildings. The interesting thing is that the only buildings that do not really benefit from stacking are residential zones themselves; since they need to develop from little houses first, they can't ever grow up if some of the individual houses are covered by something else. Thus, the only time you should ever employ residential stacking is when the land would otherwise go unused, such as in the example directly above. The house which gets "priority" (is allowed to develop past little houses) is the one which has more likelyhood to develop into a nicer property and/or possibly become a top.
So basically anything other than residential zones is a good candidate for stacking. Gifts, police stations, fire stations, power plants, stadiums, air and sea ports, etc. You can really go off the deep end with stacking and essentially stack everything to maximum capacity; this is how you get to the super-high populations (this is how I got to 600,000).
Here are some pictures to show you how to stack, and some neat stuff you can do with it.
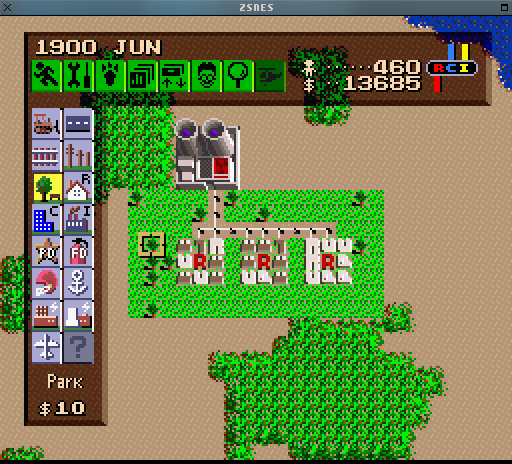
The Basics
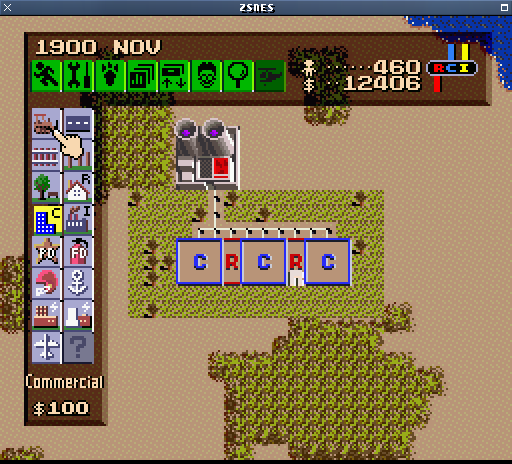
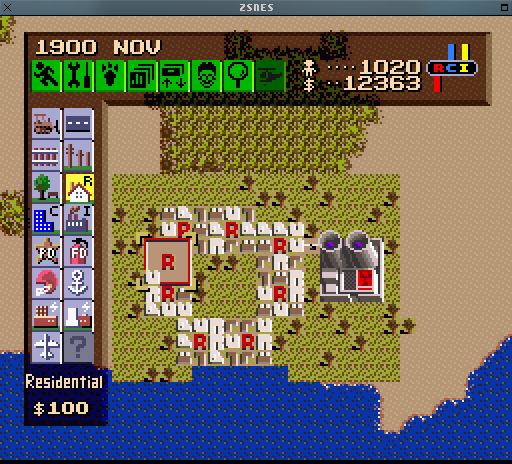
Build some residentials, let them grow all of their little houses, but don't let them form into big buildings
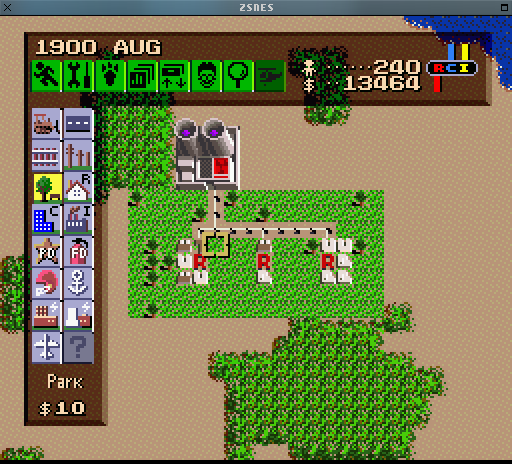
Now bulldoze some of the little houses to make space. Don't bulldoze the R! Turning the speed to paused helps here, so the houses don't spring right back to life while you're working.
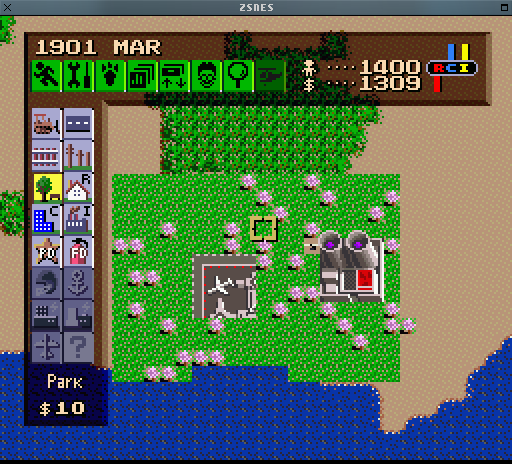
Now put your new zones in place. They can be anything (notice we can build parks in here too), but let's do some more residentials.
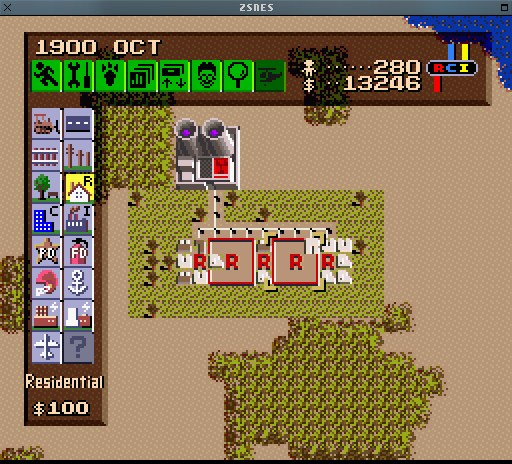
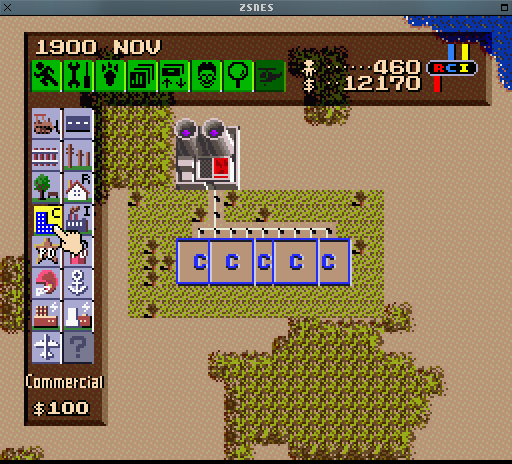
Maybe I changed my mind and want some commercials.
But notice that now I can't grow it any more. You can only stack with residential zones, so if you want to stack other types of zones, you need to build temporary residentials, as we did here. Of course, most of the time you will do more than just 5 zones, but this was just an example.
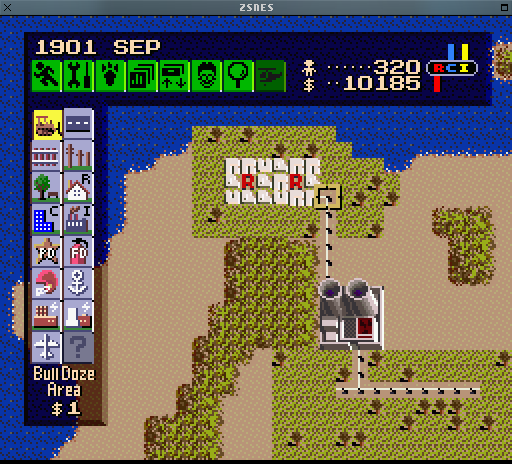
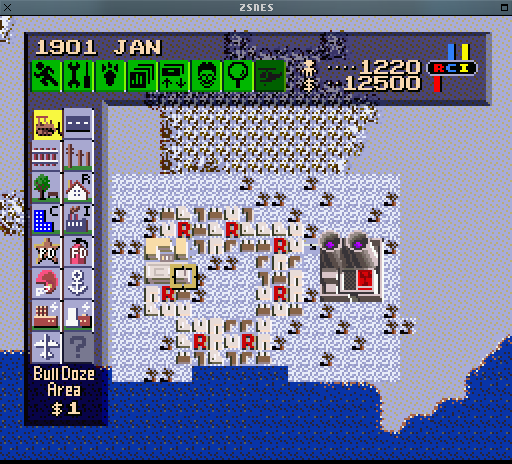
Fitting In
You need a space of 3x3 to build a zone, but sometimes you have something close to this, but are blocked by some other zones, and/or are in a tight space, like on a coastline. In that case, you can often squeeze in a zone with stacking. It's important to make sure that you always route transportation to them somehow (train/roads over water are just fine, even if only one little square. you can build a whole line out there and then bulldoze all but the one little square you need)
Stacking: Not Only For Zones
You can stack pretty much anything.
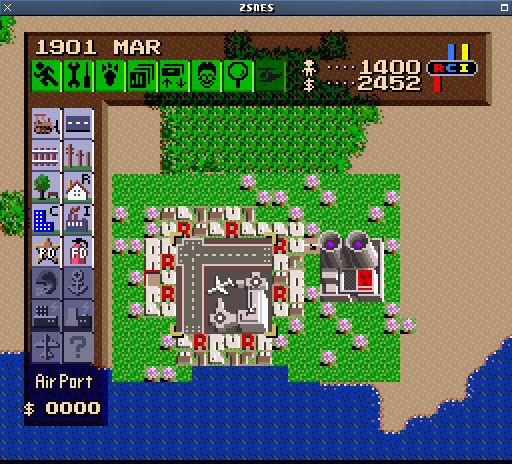
Let's stack an airport. Make sure we have everything lined up..
Let them grow
We had an akward spot over on the left, so let's get that fixed up
Damn, it's annoying when they turn into bigger buildings. In this case, we can just wait a minute and it'll flip back, since there's no real city and no transportation. In a normal situation, you can cut off the zone's transportation supply, and it'll slowly shrink back down. Once it's where you want it, put the transportation back, and continue where you left off.
We really do have enough room!

And there it is.
Make sure the game is paused, and nuke the residentials.
Now we have a mini airport! It works just the same, too.
The Big Crunch
Let's really pack some stuff together.
Residential Stacking: Not So Great
But notice that stacking doesn't work well with residentials. A few big buildings appear, but they prevent the other zones from growing past little houses. So generally you will only want to leave residential zones stacked when you're using up otherwise empty space (like our coastline example above). Otherwise, residentials should only be used as temporaries to get commercial and industrial zones stacked.
Our industrials have no problem growing in such conditions. Neither do commercials.

Etc.
Here's a handy use:
Here's stacking taken to the extreme. There *is* a pattern here! This is the most efficient building pattern I've found so far, but I'm sure I can do a bit better.
Here's more detail about that zone pattern. Notice, one little square of transportation supplies 6 whole zones. Power lines are unneeded, because zones aren't seperated from each other -- they're just one huge glob. You can repeat this block in at least a couple different patterns, but basically it works out to something honeycomb-like; that's what's in the picture above. It's presented next to some other familiar block patterns to show just how ridiculously more efficient it is.
If you leave air and seaports disconnected from power, they'll still satisfy your citizens' desire for them. They'll still pollute, but your seaport won't launch any boats -- no boat crashes!
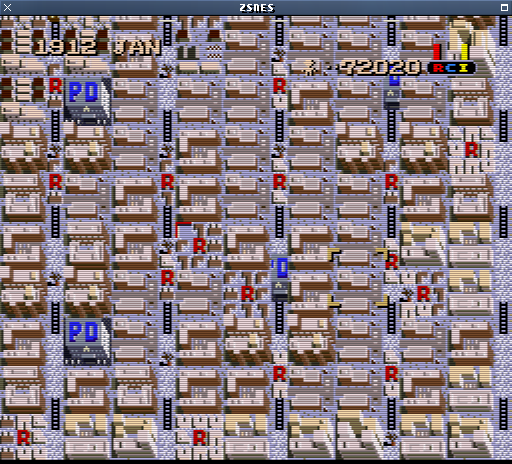
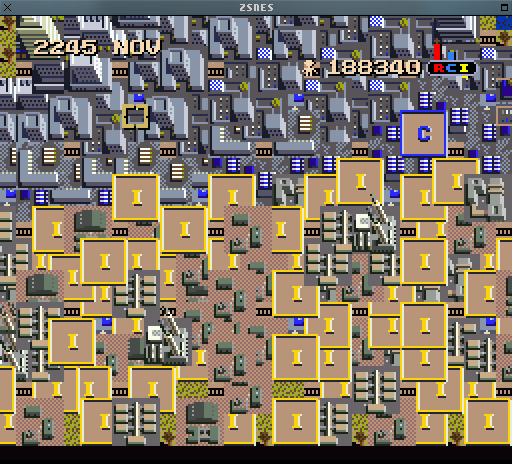
Cookie
Here's my biggest city so far, cookie.
Links
Some other cool pages about SNES Sim City:
Nick Welch <nickwelch.dev@gmail.com> · github