I had previously planned to build a small stereo amp using the amp6 kit from 41hz.com. After deciding I wanted a bit more power, I did some research and am now going to build a so-called gainclone amp based on the LM3886 chip.
Here's a recap of some of my motivations from the other page:
I'm doing this because typical stereo receivers waste a lot of power due to being class A/B amplifiers, they're somewhat-annoyingly large, and just because I like designing/building stuff. I'm not sure if I'll be able to notice a difference in sound since I don't consider myself to have great hearing -- not to mention the fact that I'm generally listening to music from a computer with cheap on-board sound -- but [chip]amps are considered to have very high fidelity [...]
Another issue is "vampire power," or the trickle of power consumption that many devices exhibit when apparently turned off. This amp will be designed so that the power switch will cut off the a/c connection and no transformers or anything else will be consuming any energy when it is switched off.
parts list
| part | source | price |
|---|---|---|
| LM3886 amp kit | 8audio on ebay | $58.00 |
| 300VA 22V toroidal transformer | Antek | $46.00 |
| Griffin iMic 2 USB sound adapter | $35.00 | |
| Alps blue velvet 50k stereo volume pot | AMB.org | $22.00 |
| A bunch of other doodads | don't remember |
|
| total | $200? | |
the amp kit
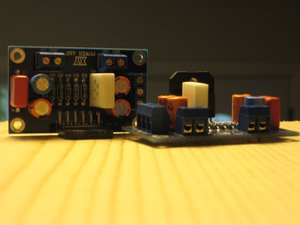
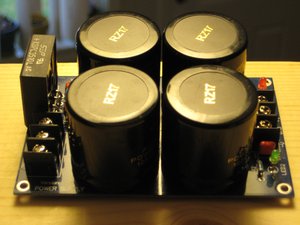
LM3886 amp boards (left) and power supply (right)
There are apparently a lot of shady sellers on ebay selling chip amp kits out of east Asia with counterfeit chips and low quality construction. I was wary of 8audio at first, but some searching led me to an article at beavishifi.com which mentioned good experiences with them. I wrote the author, and he re-iterated this.
The main reason I'm going with this kit is that it's pretty cheap, and it'll save me the tedium of soldering circuits together myself, which is not something I really love to do.
If you do want to solder the amp yourself, the chipamp.com kits seem to be widely respected, or you can pretty easily roll your own, without even using a PCB, if you like. There are many options. Use the Google.
transformer
22V seems to be the ideal voltage for these amps. You can go a bit lower or higher depending on the speakers you're driving, but I'm looking to build a pretty middle-of-the-road amp. The lowest amount of power generally recommended is 160VA. Going a bit higher will help when playing at loud volumes, and since it was only $7 more than the 200VA model, I decided to go for the 300VA.
This part of the amp is much more expensive than the $15-ish laptop-style power brick that the amp6 can use, but it'll translate to a significantly more powerful amp.
digital is good
I'm going to be using this amp at my computer. Primarily for listening to music, but sometimes also a movie. One of the things that bugs me about my current setup (internal sound card connected to a typical stereo receiver) is that a lot of noise is introduced. When my external hard drive spins up, I can hear it through my speakers if the volume is up a bit. If I turn the volume up moderately with nothing playing, I hear hiss. This isn't the end of the world, but it'd be nice to eliminate it, and I'm sure sound fidelity would go up at least a tiny bit by doing so.
One source of interference is the sound card being inside of the computer, which is a very noisy place to be, as far as audio electronics are concerned. Another issue is the line-level cables running from the computer to the amp. Both of these can be eliminated by building a DAC into the amp, so that the sound path is purely digital (and thus, generally interference-free) until right before reaching the amp circuit itself.
You can build your own DAC circuit, or buy kits, but the easiest way to go is to buy an already complete one and take it apart.
enter the imic
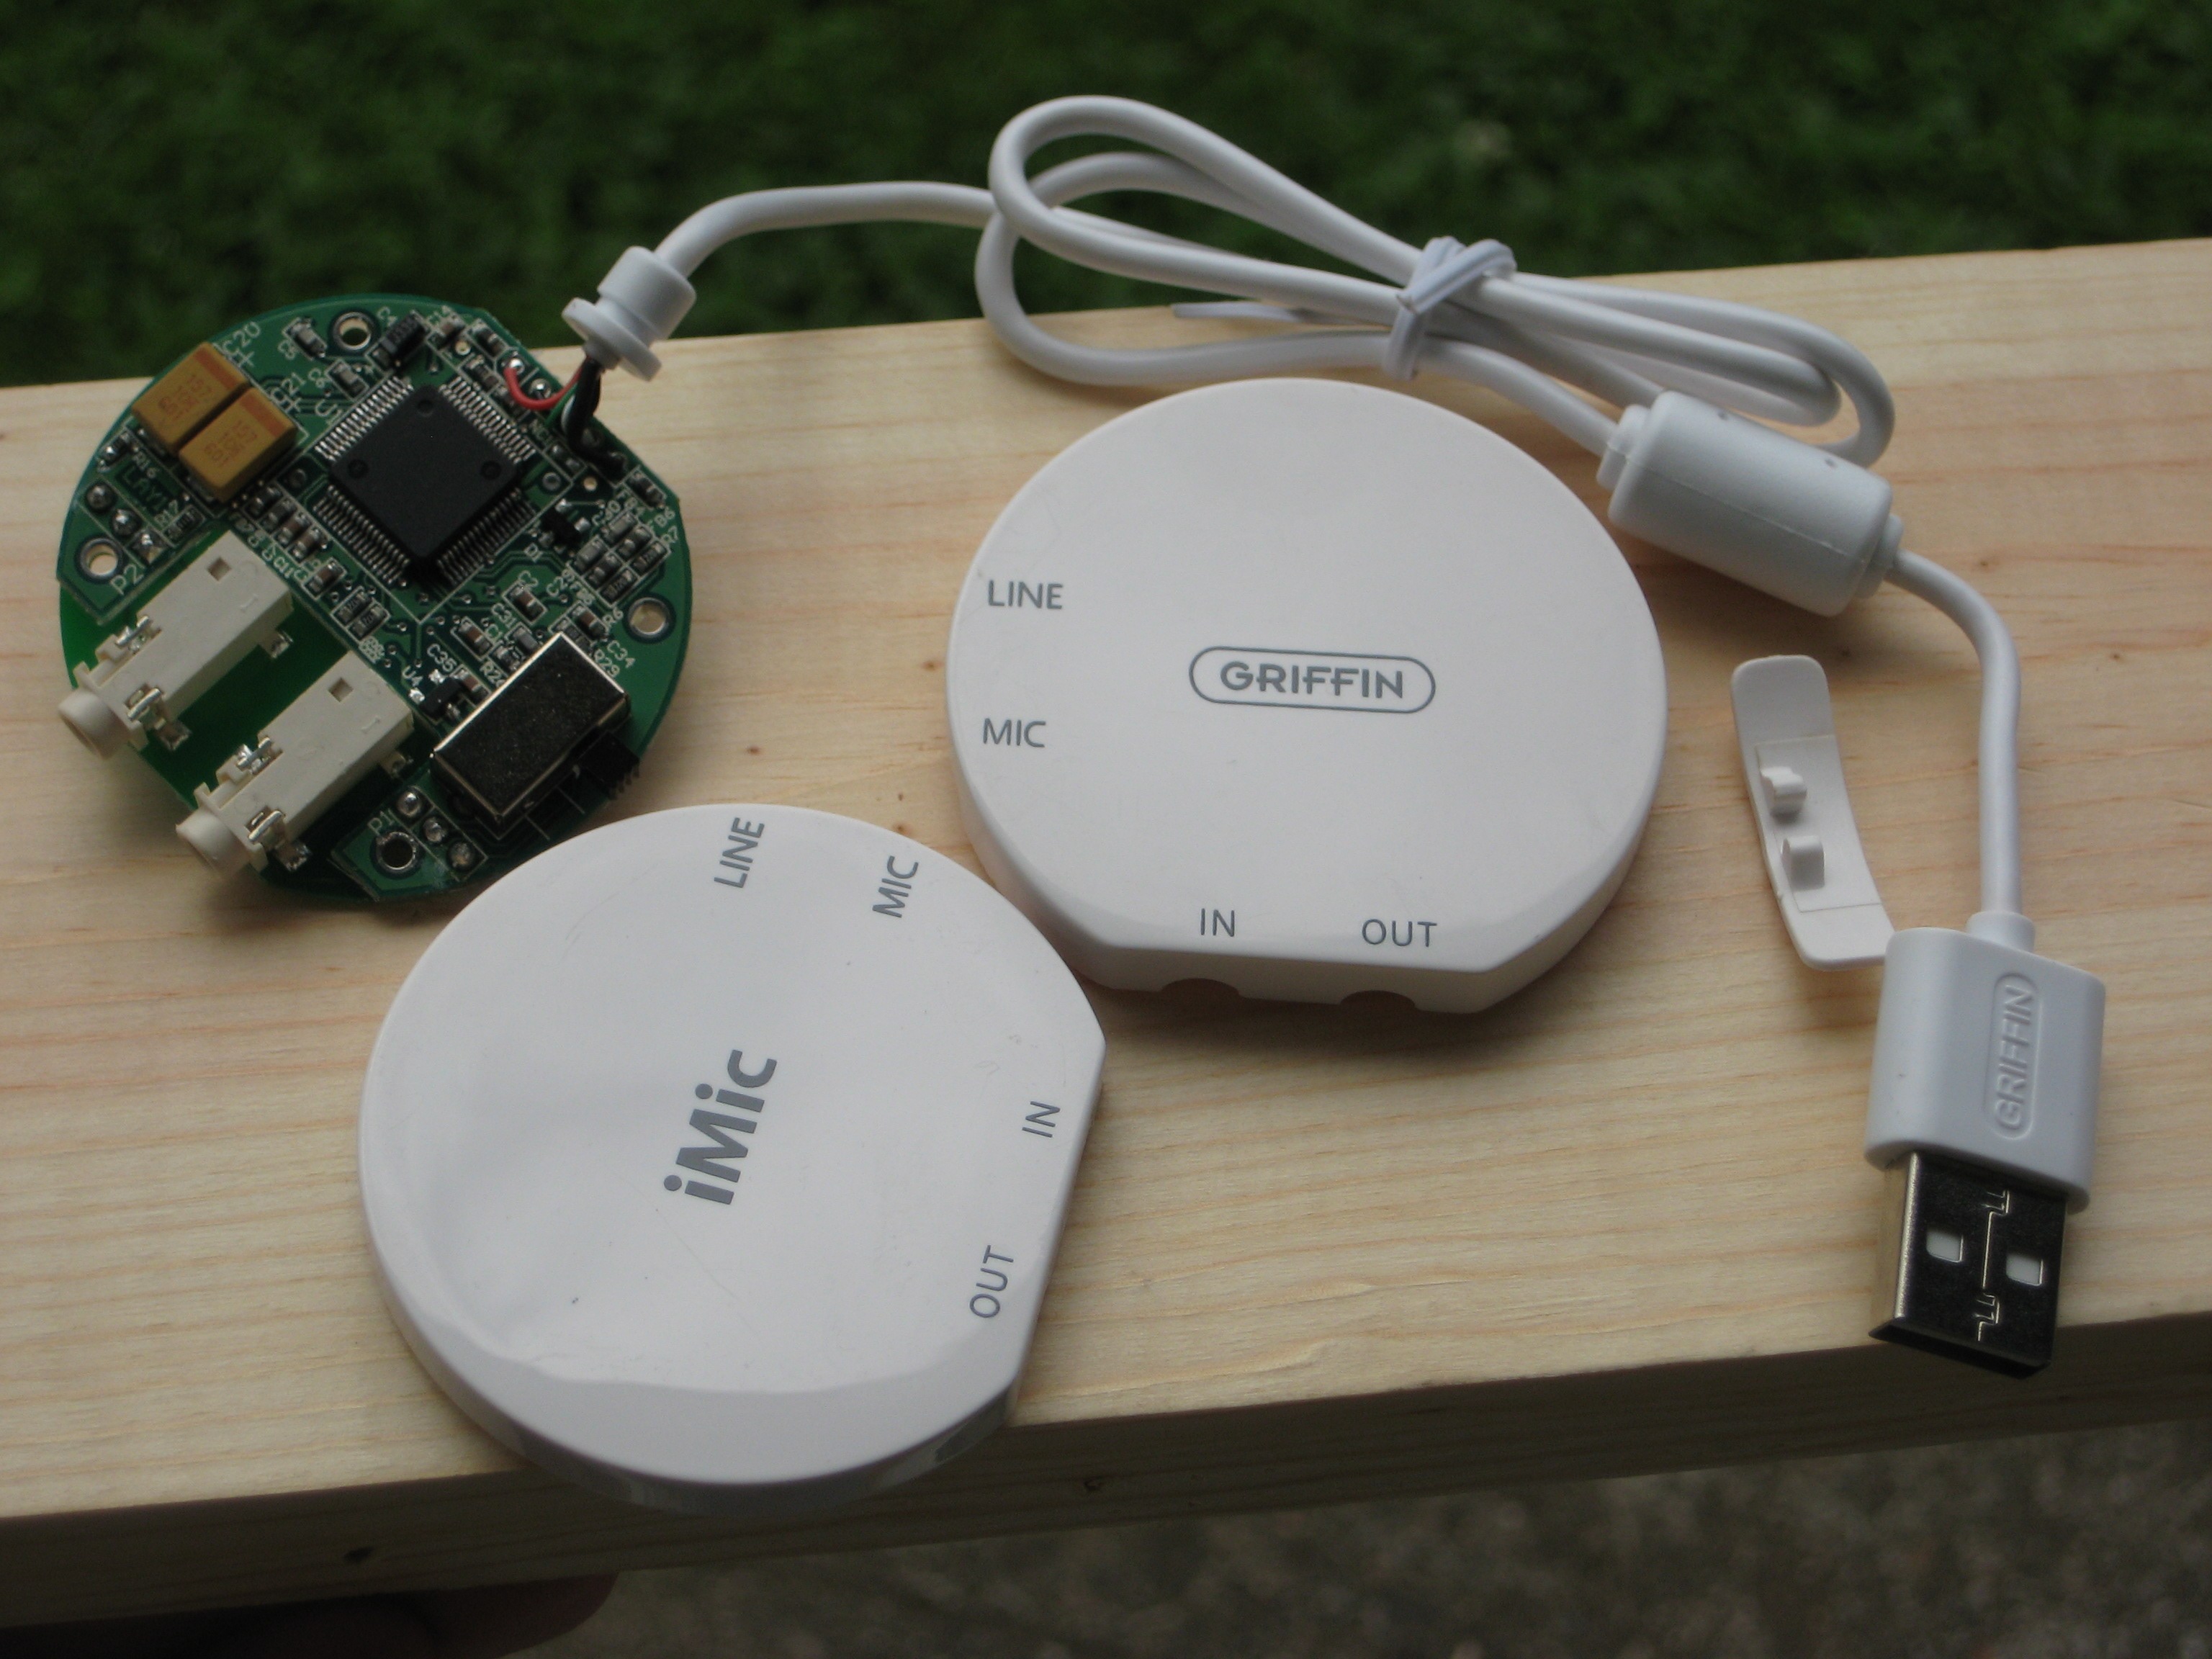
The Griffin iMic is a USB sound card that is basically just a small, cheap DAC. To turn it into an in-amp DAC, all one needs to do is connect its USB cord to a panel-mounted USB female jack, and connect its analog output into the amp's line-level input.
A more informative and well-written page about using the iMic as a DAC can be found at slugsite.com.
other parts
switches
You can spend a lot of money on nice rotary input selectors or TOCOS toggle switches, but I just found some cheap ones at web-tronics that have silver contacts. Generally, for input switching, you want to look for switches designed for low-level switching, and have a rating of less than 5A or so.
heat sinks
The LM3886 chips produce enough heat that they must be attached to some sort of heat sink. I found two matching computer CPU heat sinks at Free Geek for $2 each. Old Pentium II heat sinks would probably work really well, as they're black and kind of cool looking, and their fins are widely spaced, which is optimal when you're not using a fan.
enclosure
The only decent, cheap enclosures that seem to be for sale in the US are from Par-Metal. I decided to make my own out of some scrap wood, aluminum tape (to shield EMI), and old license plates.
volume control
You can spend a lot of money on a really high end potentiometer or stepped attenuator, but I'm not really interested in spending that much money, and I doubt I'd ever notice enough difference for it to be worth it. The Alps blue velvet is a good quality volume control, and is reasonably inexpensive. I believe Noble pots are also in a similar price and quality range.
input/output connectors
I just bought some cheap ones on eBay. I probably went a little too cheap on the RCAs, as their build quality is kind of questionable. I also got a 1/8" stereo jack from Radio Shack as a front panel input.
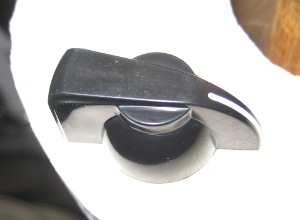
and a sweet chickenhead knob
step zero: a test build
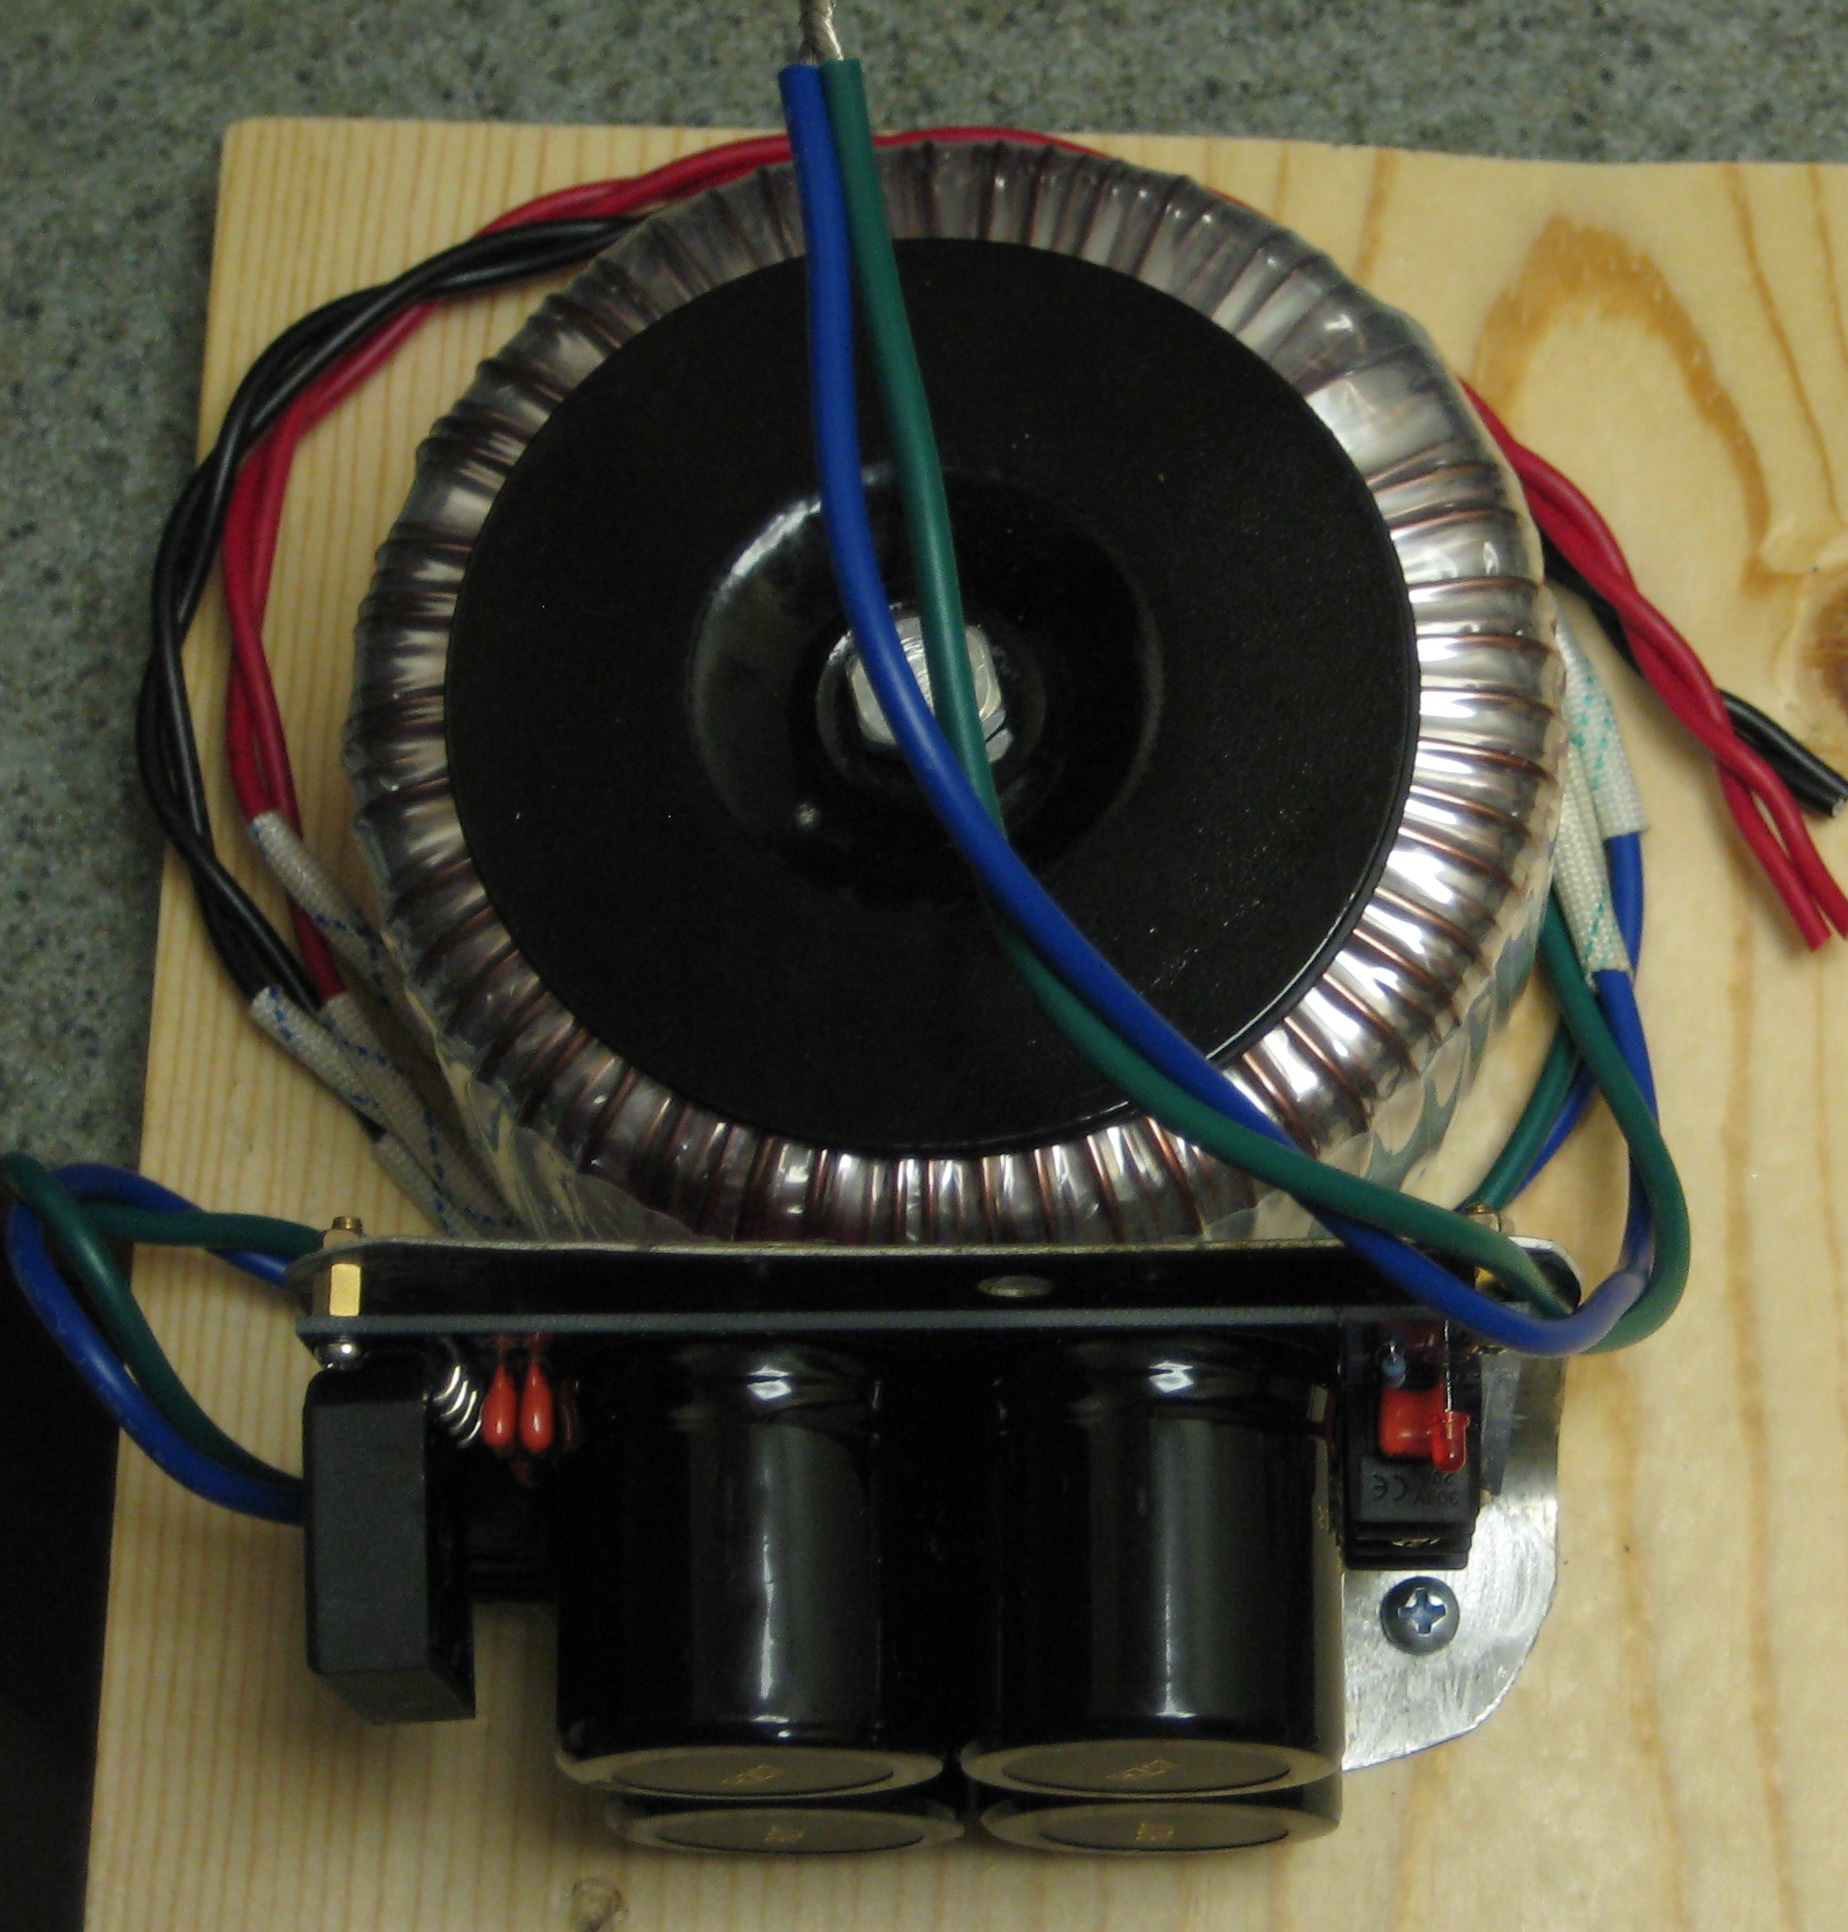
I first assembled the important parts of the amp on a piece of scrap wood, to make sure I wasn't horribly mistaken about how anything worked. I got the wiring of the transformer secondaries mixed up and melted a few fuses in the process, but once I fixed that, everything worked nicely. There's a very helpful page at "Decibel Dungeon" about building a gainclone power supply. The only thing I'd add to it is that if both of your transformer's secondaries have the same colors colors (like my Antek has blue/green for both), remember that you can't just wire either of the blues to either of the greens. I did this and wound up wiring one secondary winding into a short circuit with itself. Use a multimeter and make sure you're chaining the two secondaries together.
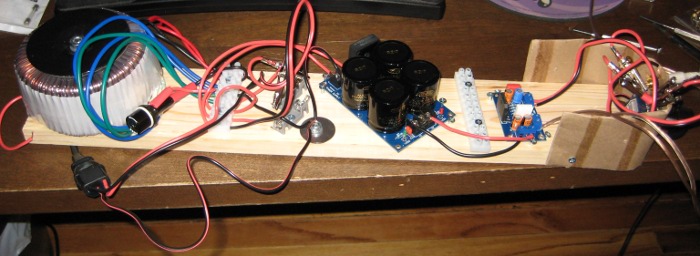
My test build
My iMic hadn't come yet, and I wasn't really worried about my ability to figure out the pre-amp wiring, so this was mostly a test of the amp and power supply, since I had never built anything like them before. I only tested one channel of the amp.
A brief listen to the amp at this point showed that it produced drastically less hiss than my normal low-end consumer-grade class A/B stereo receiver. It still picked up the sound of my external hard drive spinning up, so obviously that sound is either being picked up by the computer's built-in sound card, or the cables running from the computer to the amp. The built-in DAC should mostly (or completely) eliminate this.
step one: build an enclosure
It was actually really hard to figure out how I wanted to build the case, and what materials to use. Eventually I came across some old license plates and they worked out pretty well. The top/bottom/sides of the enclosure are going to be wood and the front and back panels will be made from the license plates. Figuring out how to mount everything was also a challenge. The backspace key has spoiled me, and I make a lousy craftsman. For the most part I didn't even measure where to drill holes, I just winged it. And the result is that everything is a little (or lot) bit crooked. But that's okay with me.
The rest of the case is just some scrap wood I had laying around.
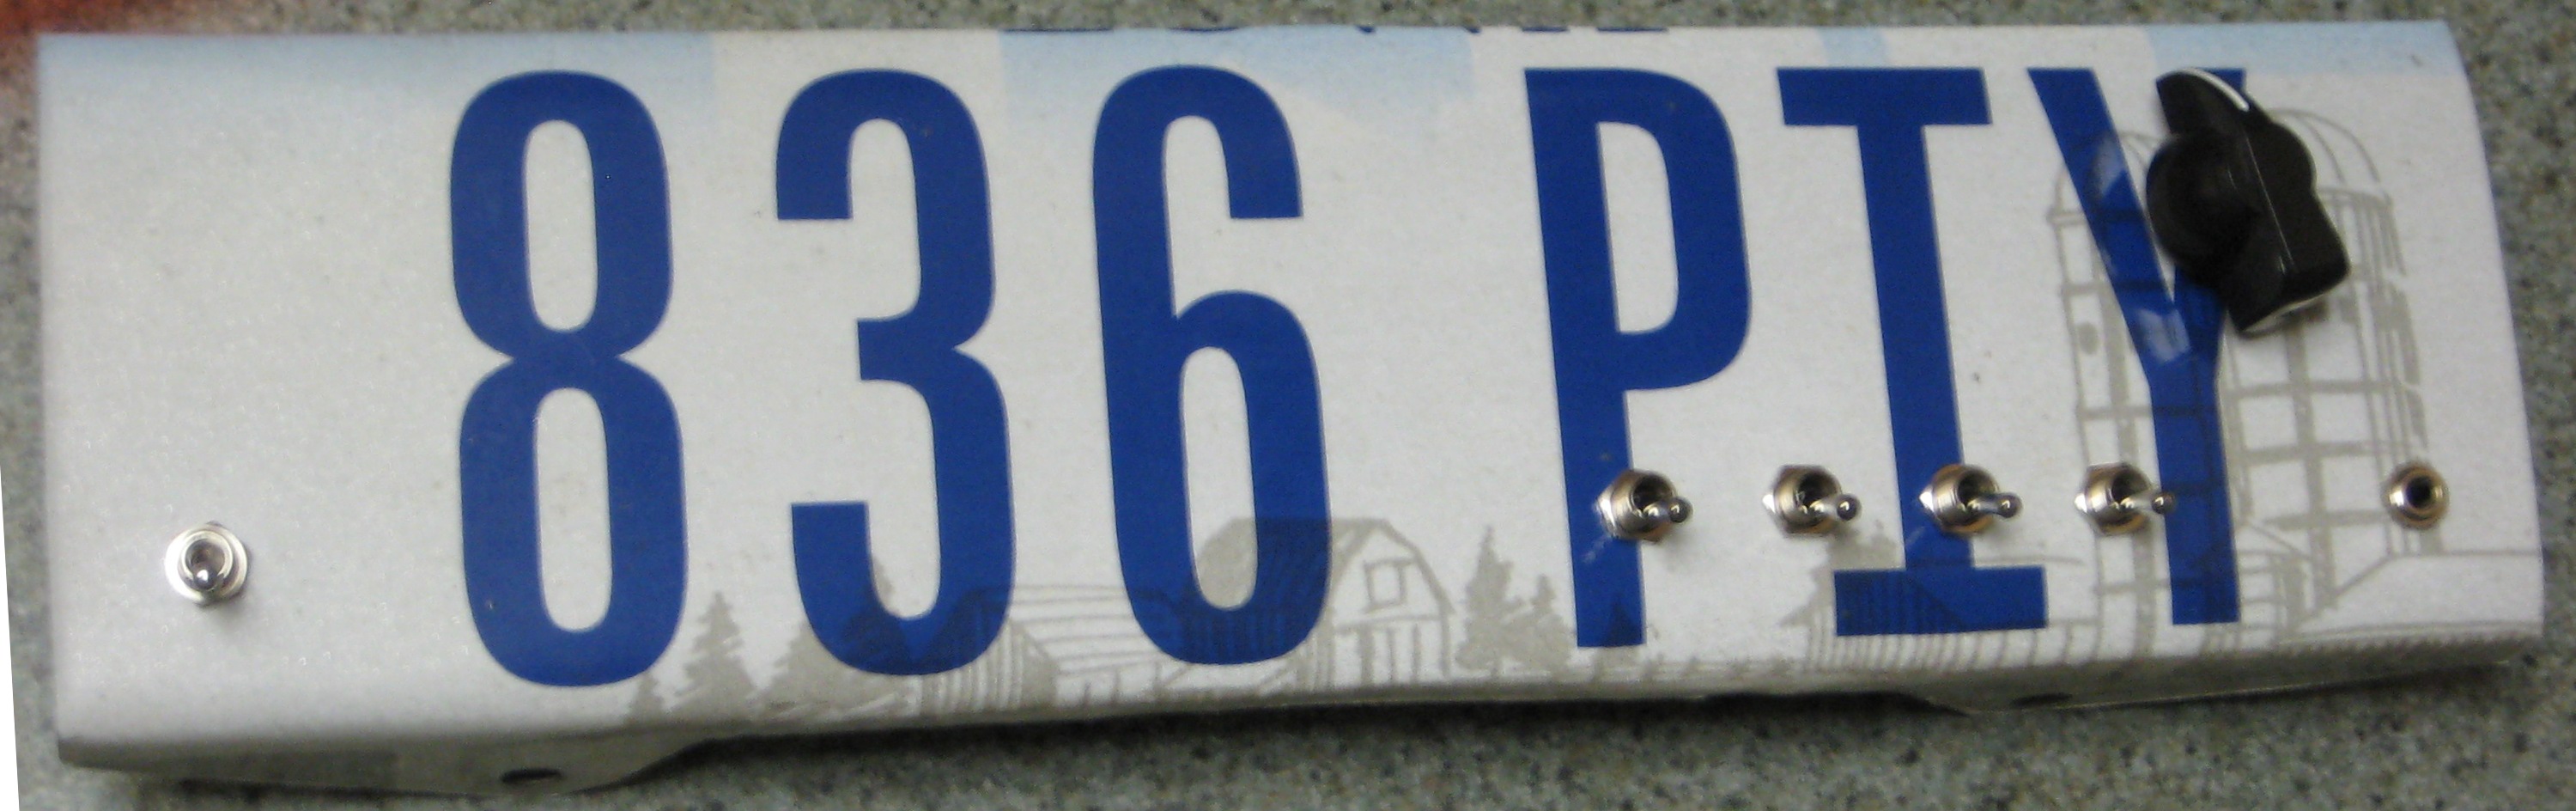
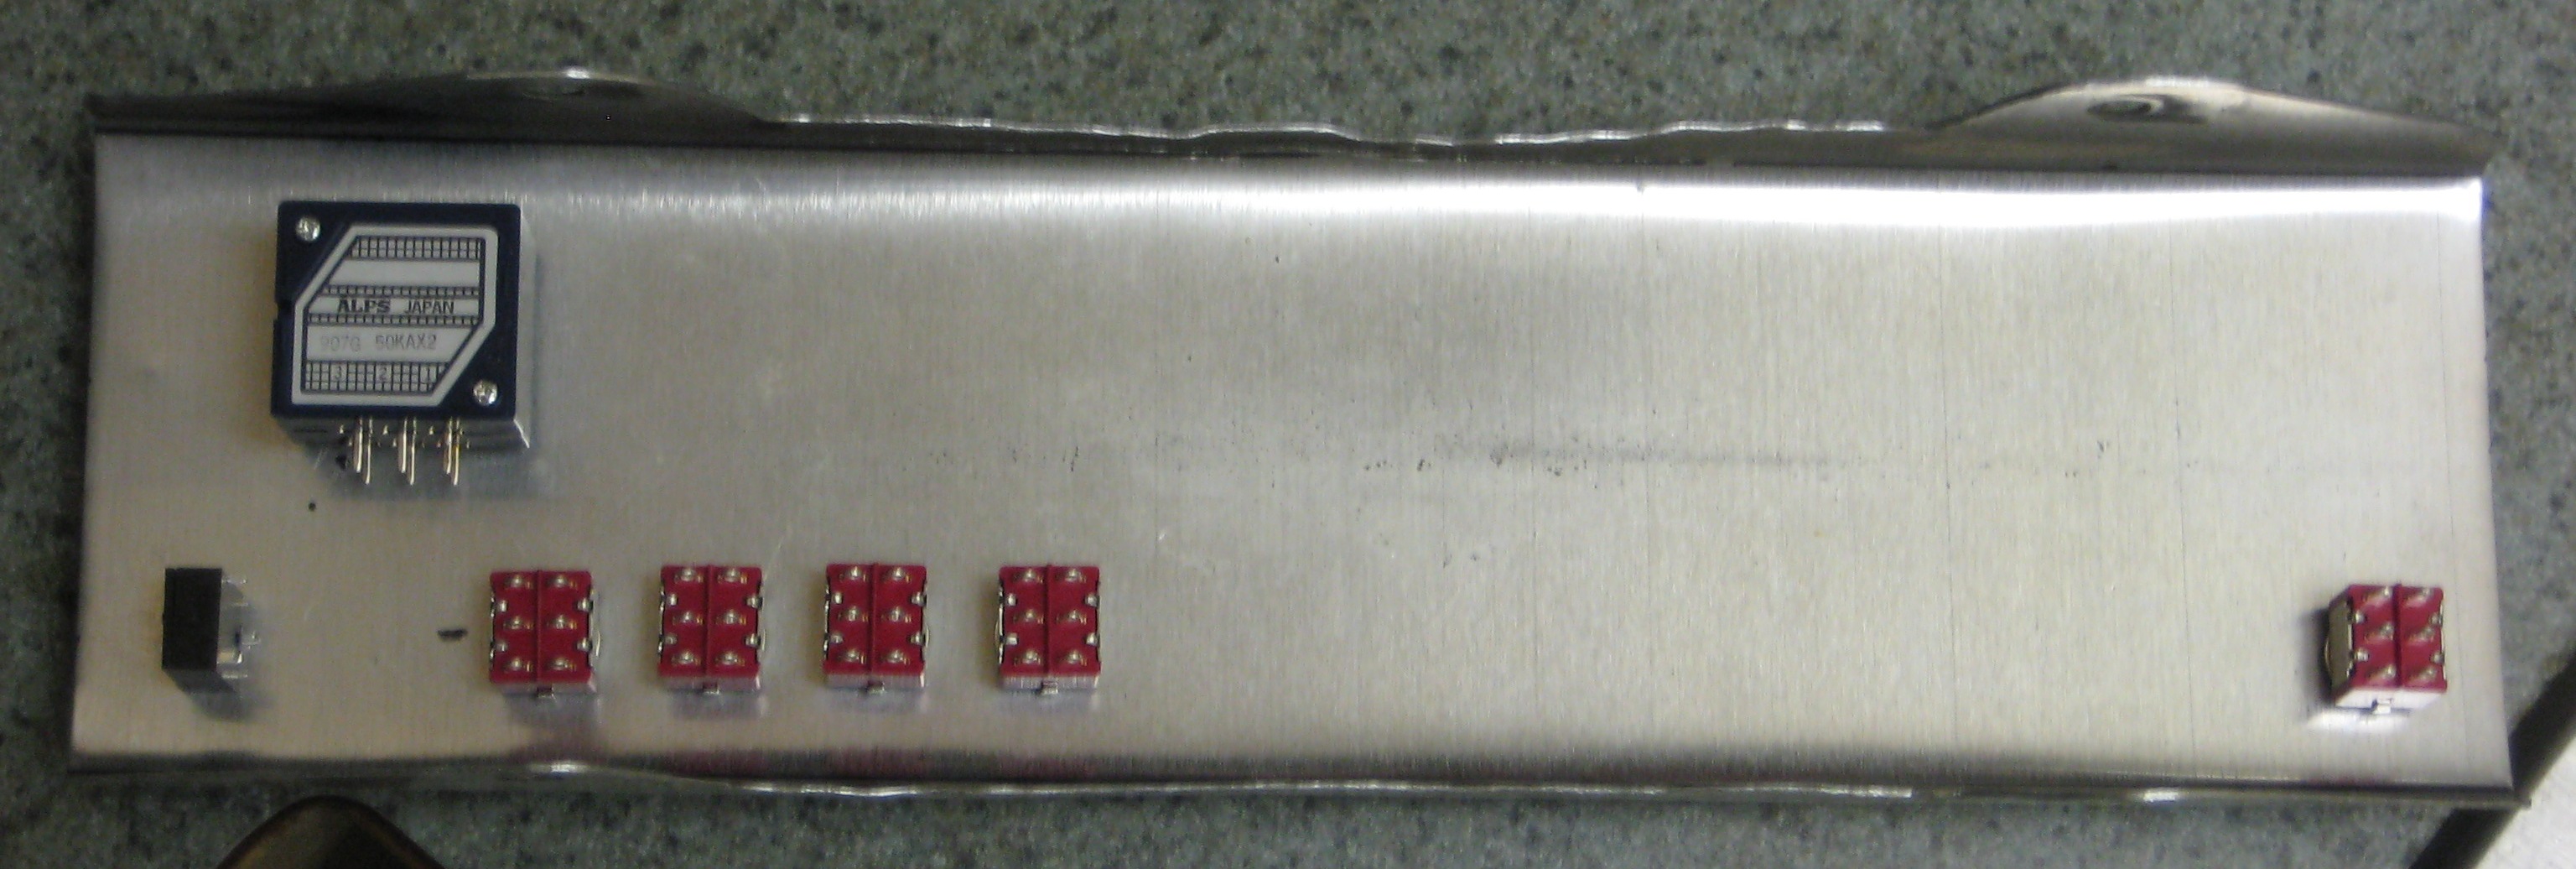
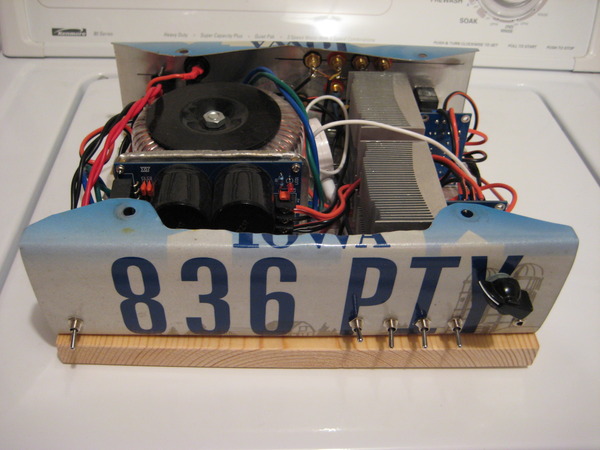
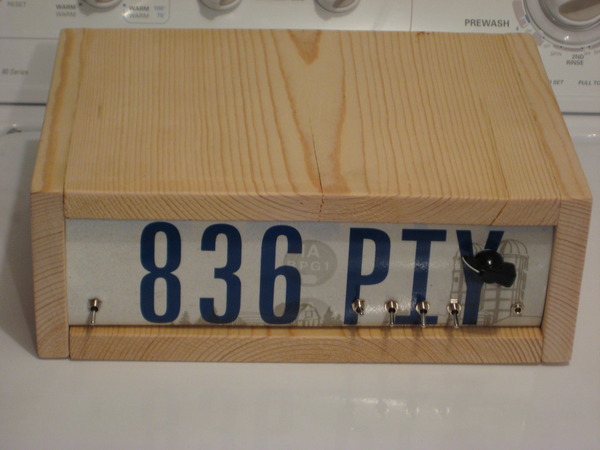
Front panel
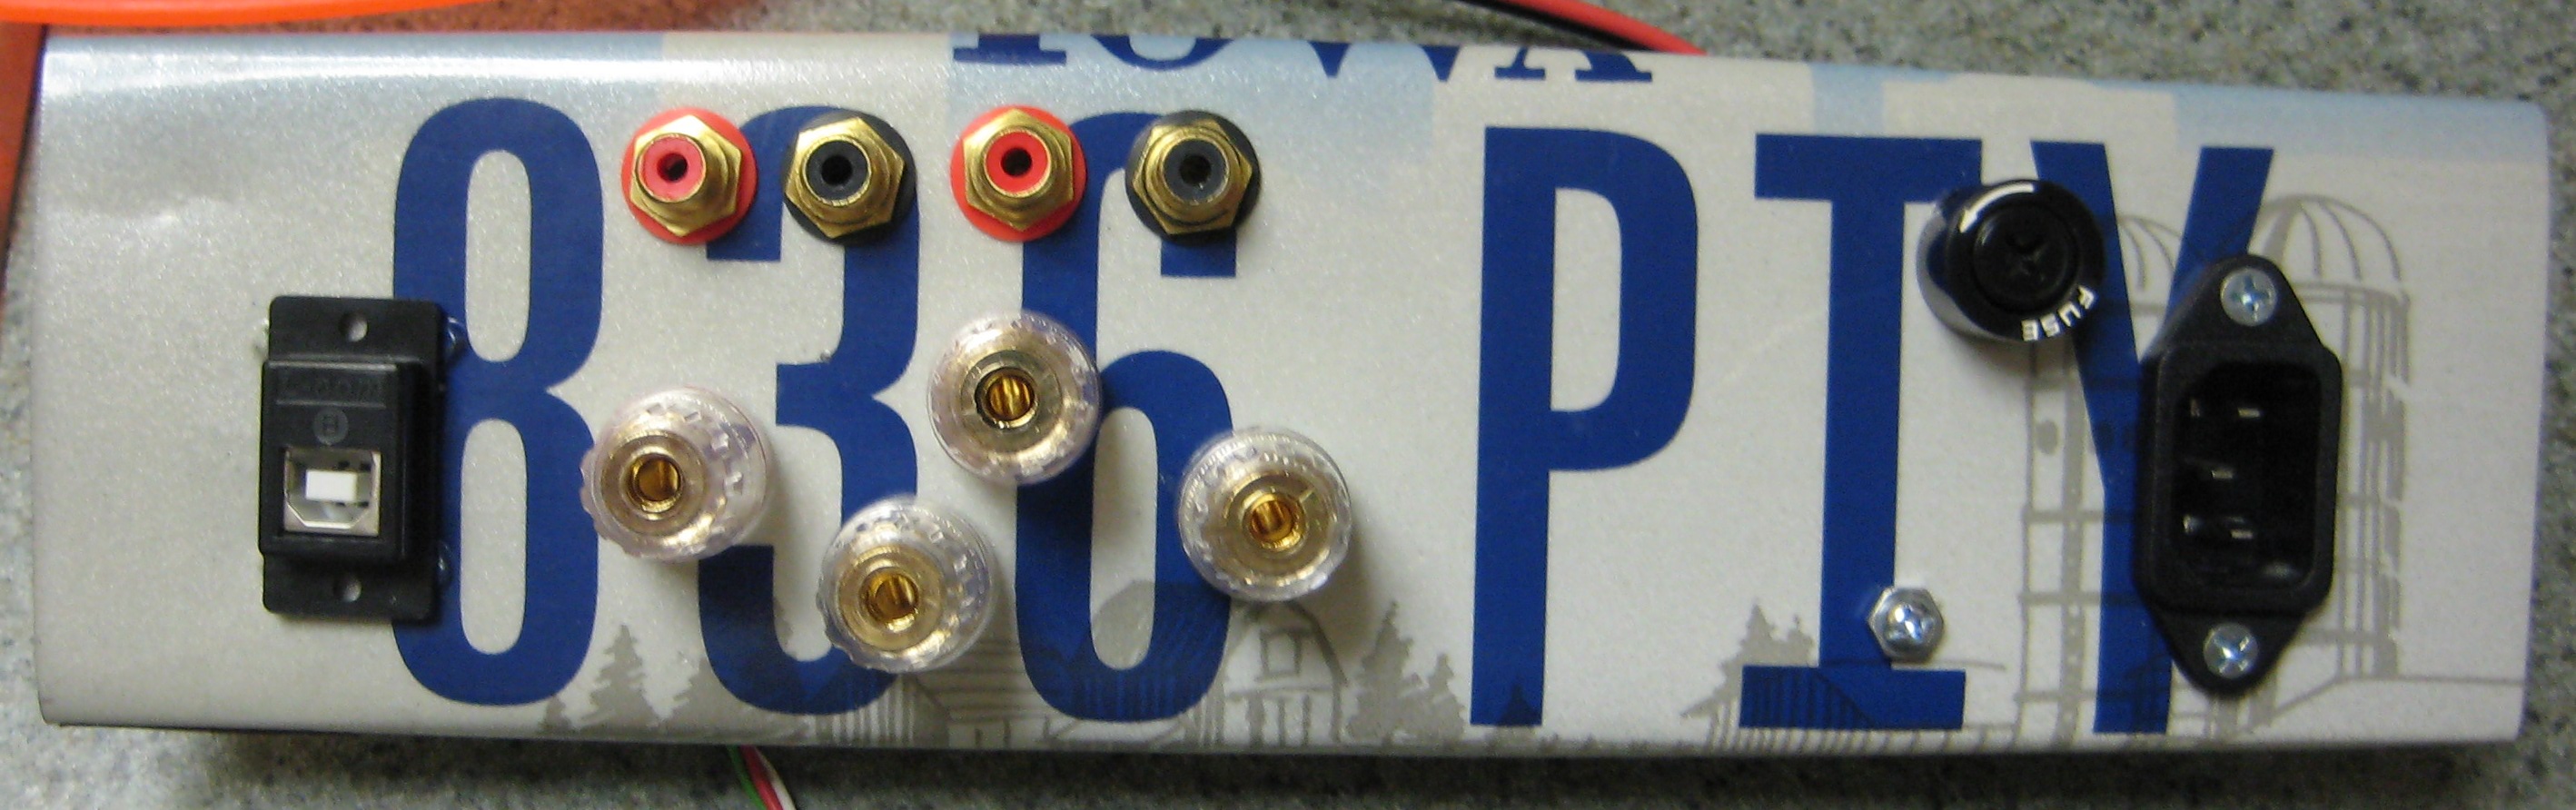

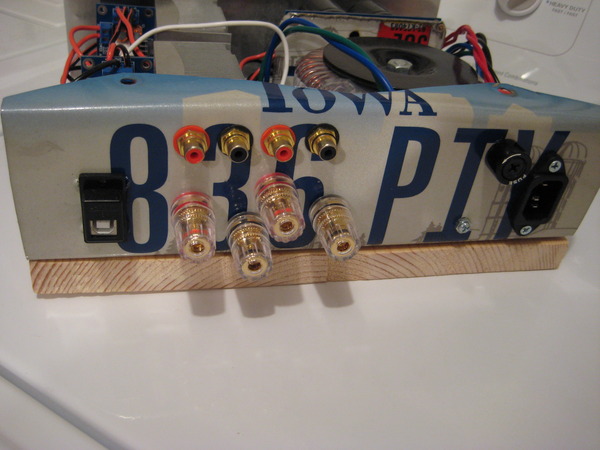
Back panel
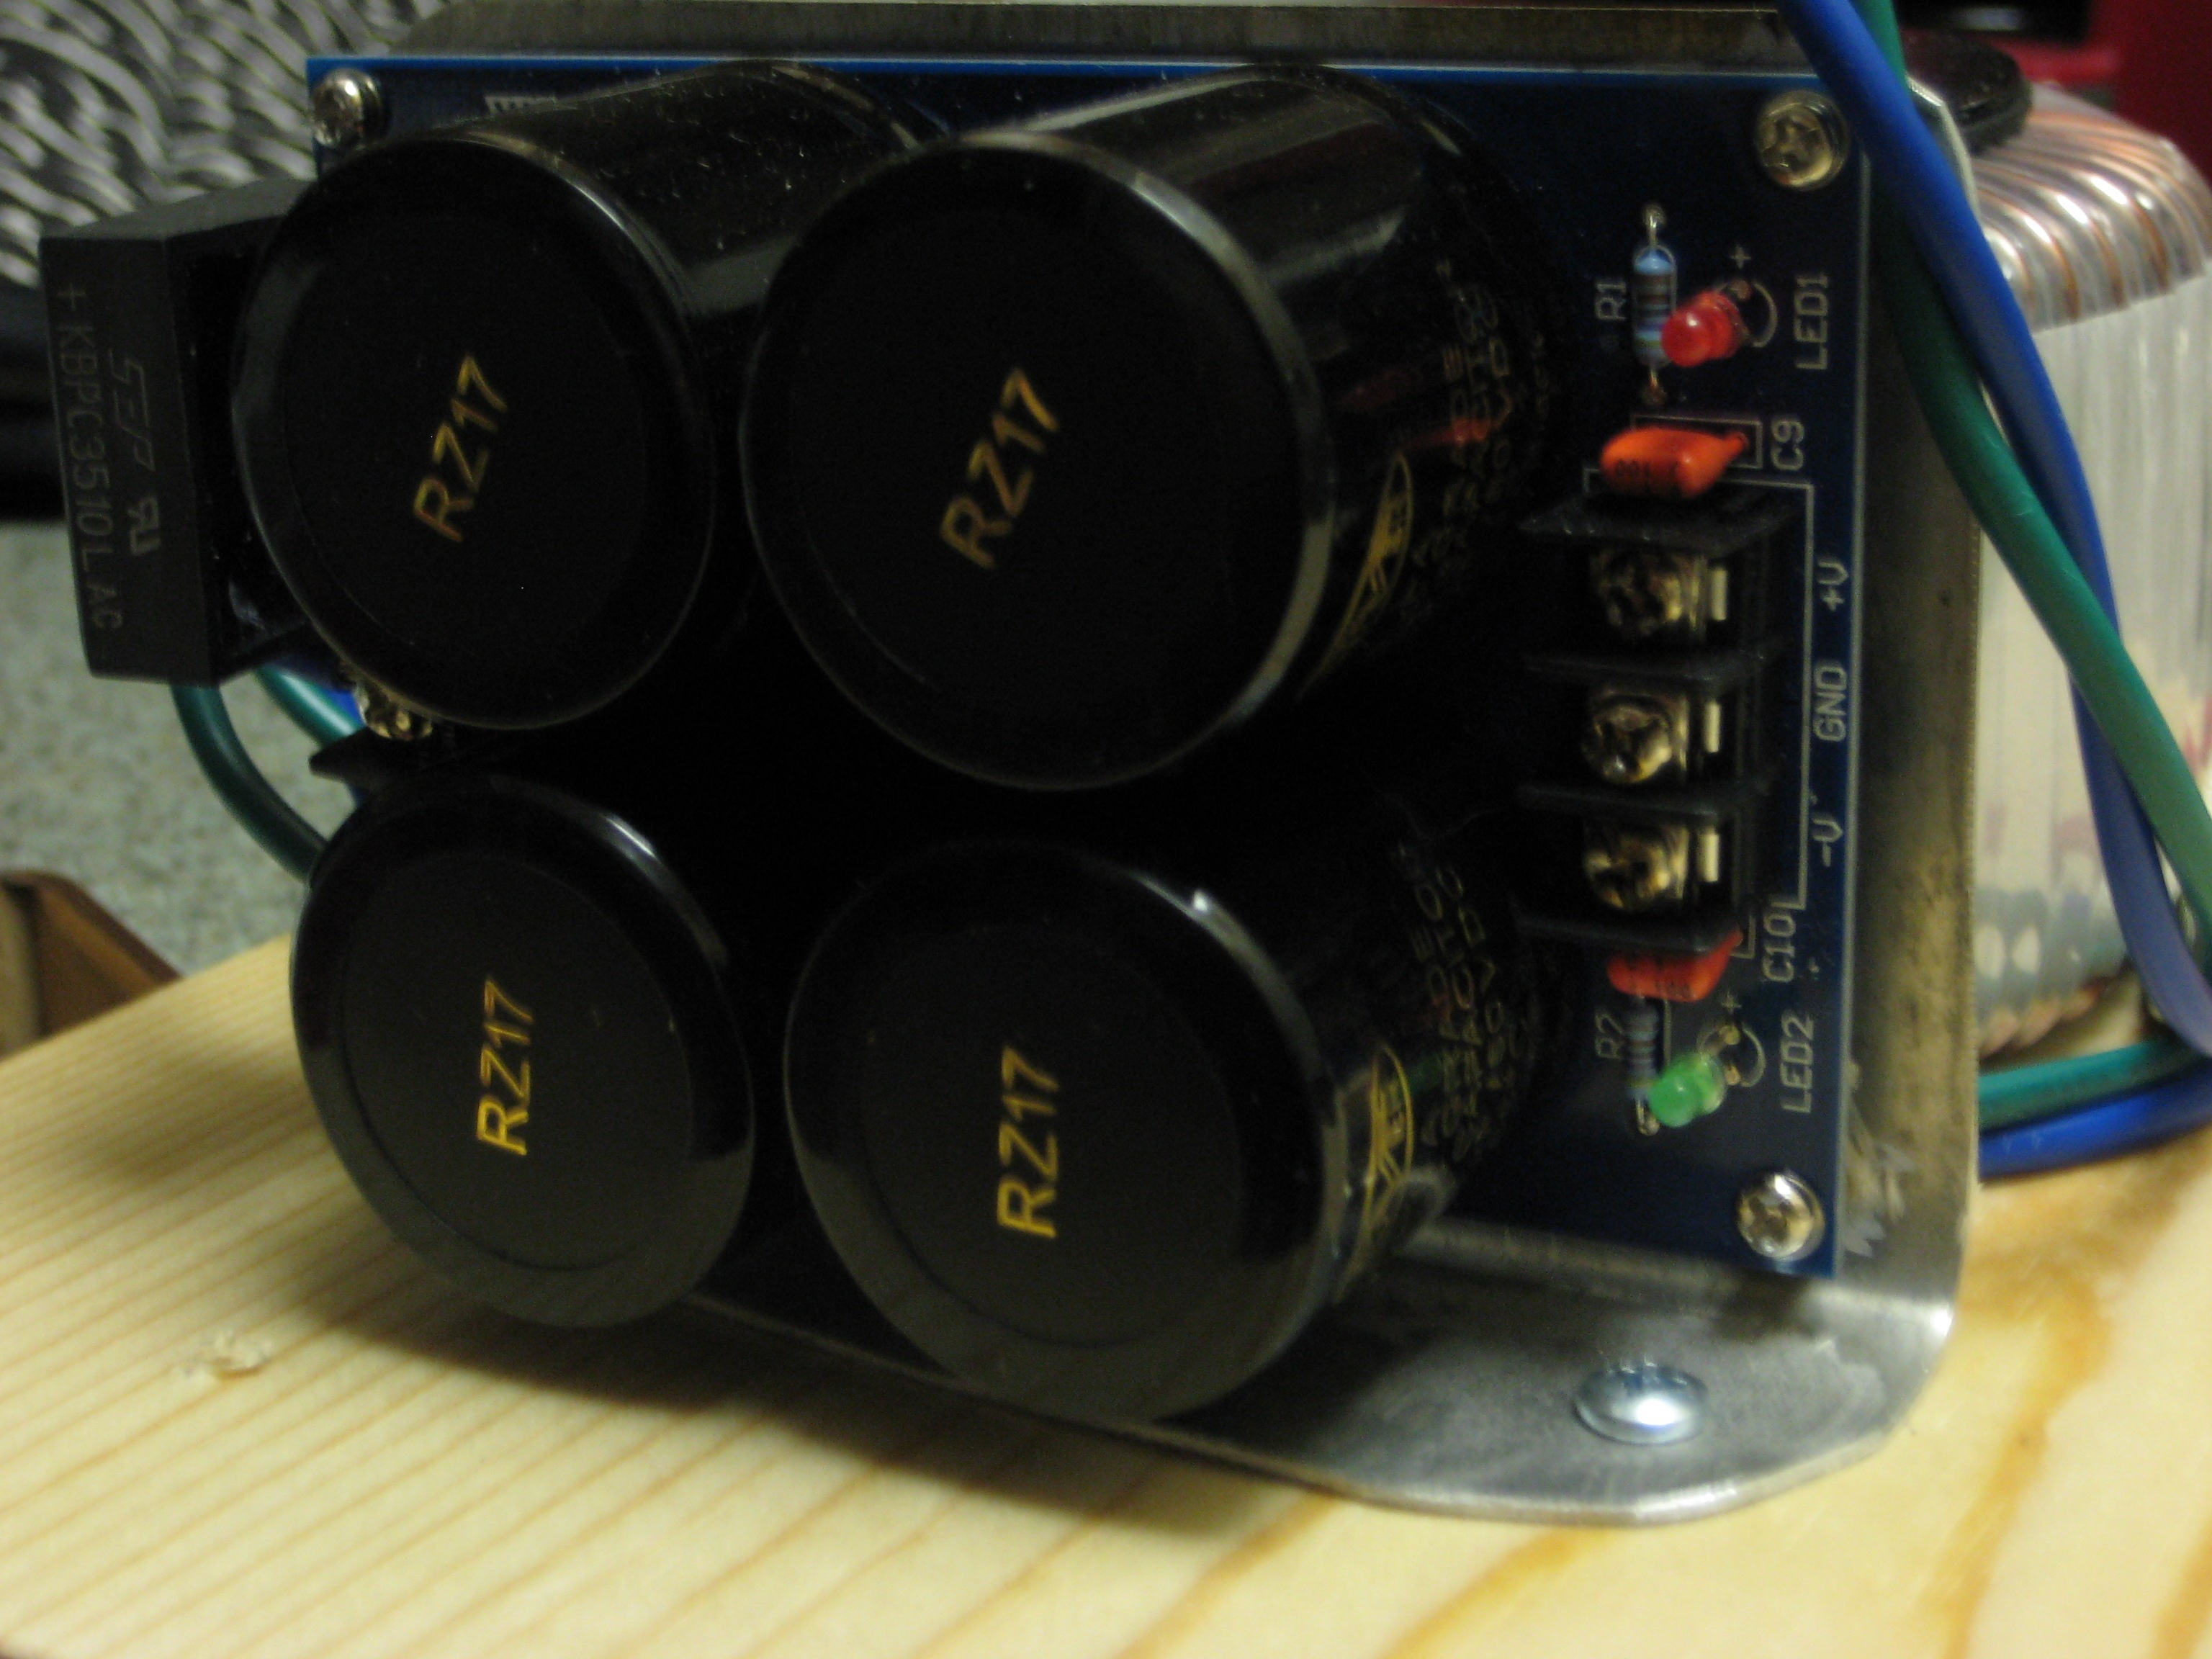
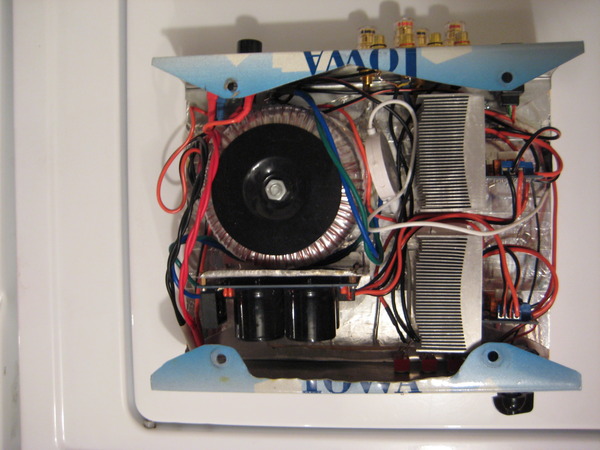
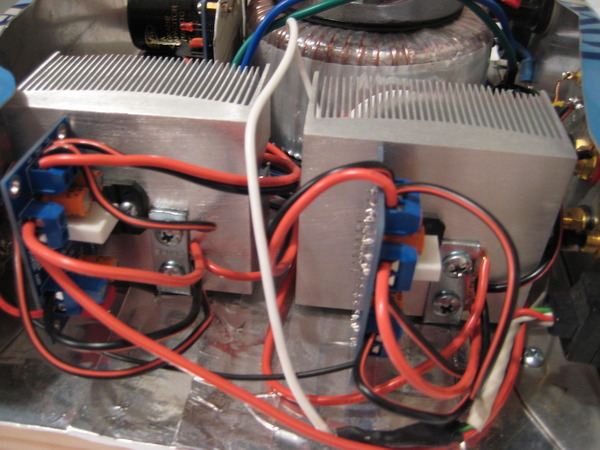
Transformer and power supply board mounted (the latter on a piece of license plate).
step two: solder tons of stuff
I have to admit that I find soldering incredibly tedious. It's especially inconvenient because I have no garage or workshop of any kind, so I get to lug all my stuff out onto the back porch to keep the fumes from filling the house. It doesn't take very long before I start feeling like I'm wiring a PDP-8 backplane.

The front panel, pretty much done.
step three: procrastinate for about a year and rush to finish the stupid thing
By now I have come to peace with the fact that I really don't like woodworking or soldering. But I managed to finally finish the project and start using the amp regularly. All is well, except for a few small bugs that are either easily fixable, or ultimately not important to me. The USB connection works excellently, and noise is much reduced from my old run-of-the-mill stereo amp.
In the end, this turned out to be a bit of a boondoggle project that I was relieved to be done with. At this point, if I had it to do over again, I would probably just find a pre-made amp that is close enough to my needs, and maybe add a USB input to it or some other such small hack, instead of building the whole thing from (semi-)scratch. A lot of people genuinely enjoy this kind of stuff though, so don't be discouraged by me.
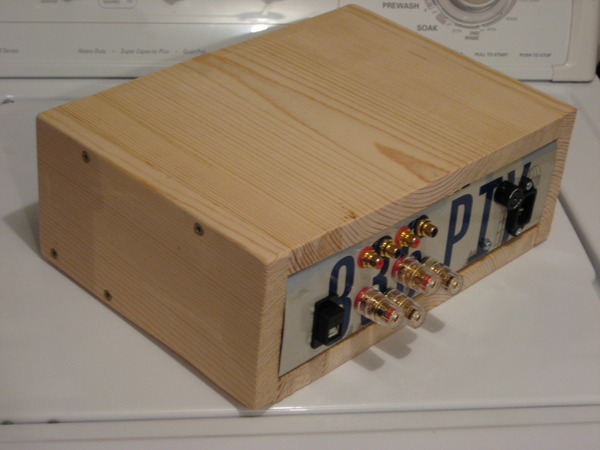
Here is the finished amp, in all its sloppy glory:
Nick Welch <nickwelch.dev@gmail.com> · github